
Do you need an guide how to use the VSS/VDS features in Windows Server 2012 when configuring a new volume.
Use this simple guide, and avoid using the JAVA interface of Equallogic when creating new LUNS/volumes.
First of all you need to install the Equallogic HIT/ME toolkit (Host Integration Toolkit/Microsoft Edition), which is downloadable from the Equallogic homepage when you have bought the first array. This little piece of software should be installed on all physical and virtual servers who need access to the SAN.
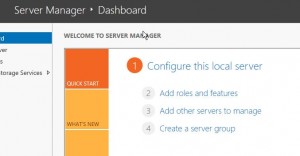
Second you need to install some additional features from the Server Manager in 2012.
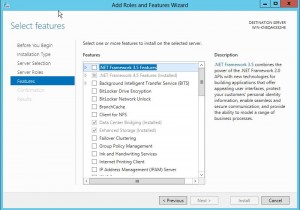
For all the integration to work, install the Enhanced storage, and optional the Data Center Bridging. Then your all set from an installation perspective.
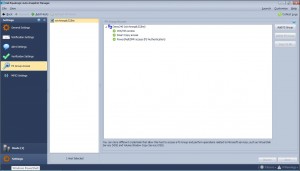
Now you need to start the Snapshot manager, this can be done from CLI, og from the Metro Gui.
There’s 3 parts you need to check.
VSS/VDS access should be same as the CHAP credentials you entered when installing the Equallogic SAN from Remote Setup Wizard.
Smart Copy access should be same credentials as VSS/VDS
Powershell/SMP access should have the grpadmin credentials
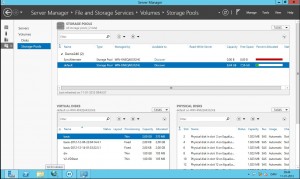
All done from the Equallogic part of it. You need to back to the Server Manager in Windows Server 2012 and choose Storage Pools. If you do not see the Equallogic under Storage Pool, you might want to rescan the storage (just like VMware :-)) and it should be shown within a mimute or 2.
Then choose the right storage pool where you want to see volumes and snapshots. They all appear under Virtual Disk part in the lower left hand.
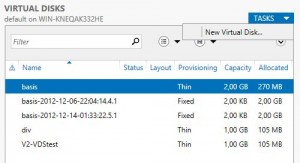
On this screen you see all the preconfigured volumes, and the online snapshots attached available
Now it is finally time to create a new volume, so right-click on TASKS and choose New Virtual Disk
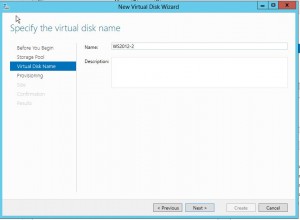
Choose a name for the Volume
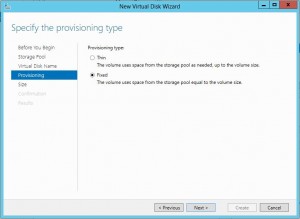
Also choose from Thin provisioned volume or a fixed pre-allocated size.
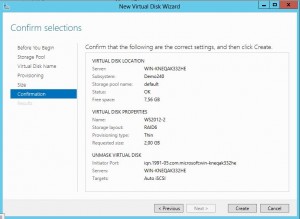
Then check all your selections and go back and correct if anything is wrong.
When done hit Create
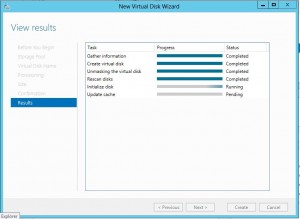
Now VDS and Equallogic is working to create your volume.
This is how it is all done, without using the Java interface
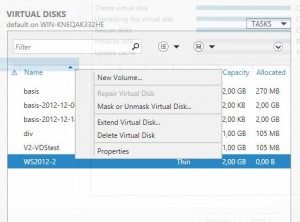
Last thing to do is creating the filesystem, and mount the volume as either a folder or a drive letter.
It simply can’t be more simple than this. I do know the Linux-guys out there might correct me, but in my next article I will show the simple steps on an Redhat Enterprise Server.